Baldur's Gate 3 is full of difficult challenges, not the least of which are its wide variety of puzzles. Whether they're related to opening doors, completing quests, or just getting a little extra loot, punishing trials often stand between the party and whatever it is they want. While these are most often combat challenges, in battles against bloodthirsty goblins or well-equipped Flaming Fists, sometimes these obstacles challenge brain instead of brawn.
Yes, there are tens of puzzles just waiting to be solved in Baldur's Gate 3, and while many of them are intuitive and easily finished, others are just plain hard. Whether it's because their concepts are difficult to grasp, their solutions are hidden, or their mechanical aspects are clunky, these are some of the toughest puzzles found in the Forgotten Realms.
10 Owlbear Nest Chest
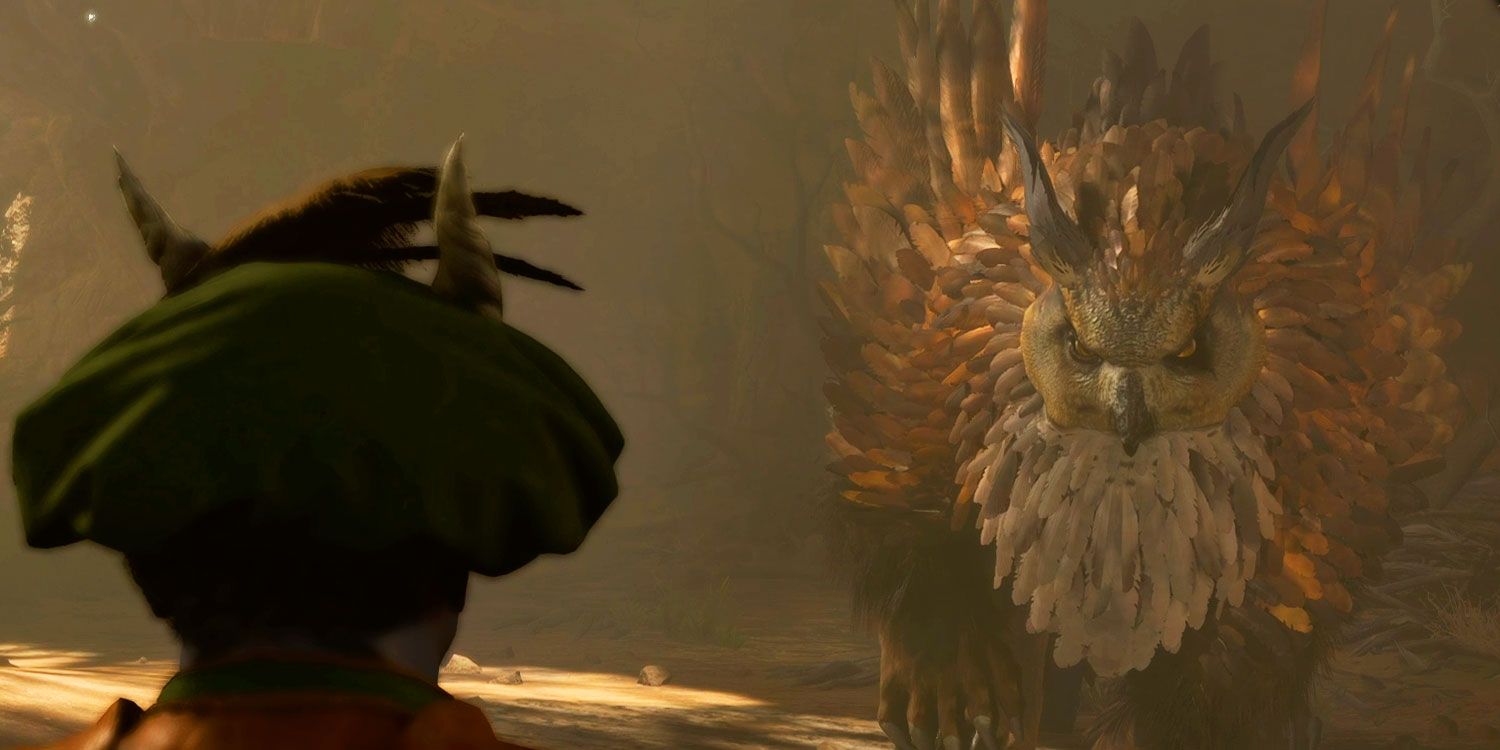
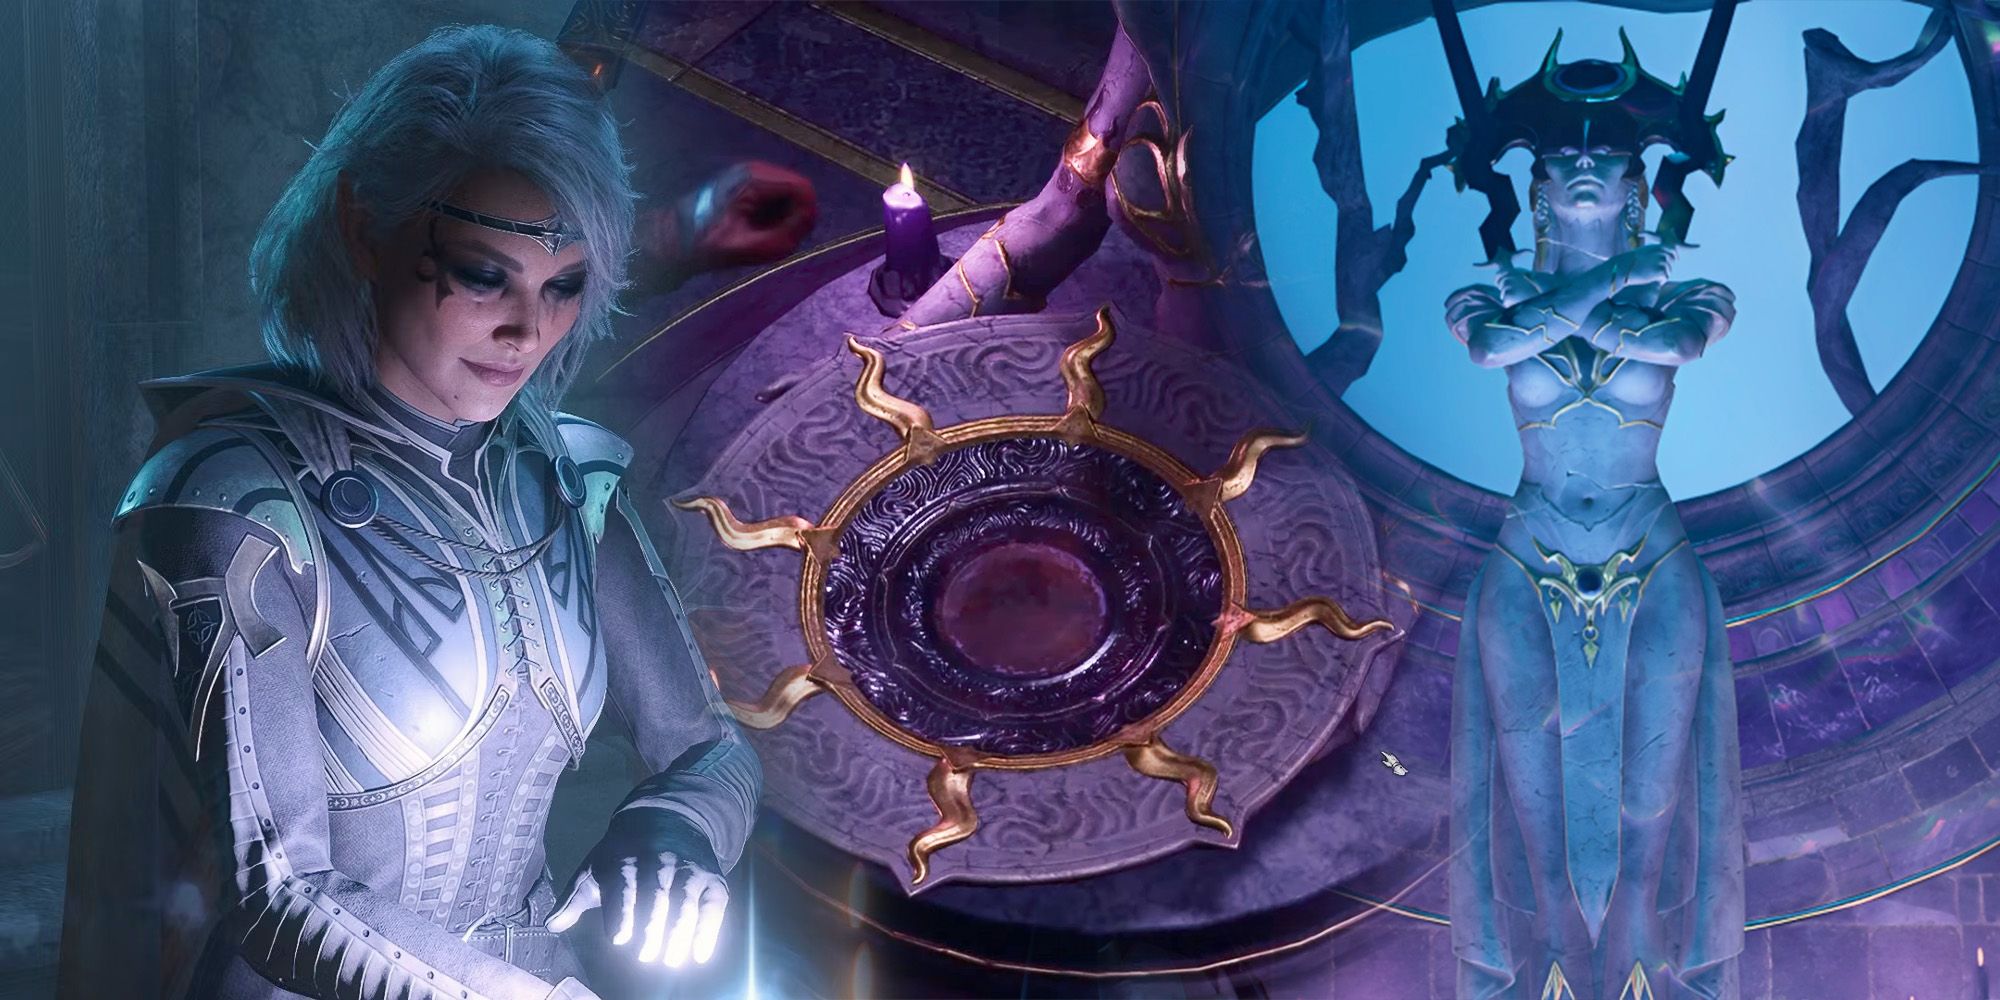
Within the cave where players may recruit the Owlbear cub in Baldur's Gate 3 is a small, magically-locked chest with a blue glow about it. The chest registers as shut, but lockpicking isn't available, so what's inside remains a mystery. As it turns out, this is a Gilded Chest of Selûne, and the only way to pry it open is to read a prayer to its patron goddess. Players will have to pass a Perception check on the nearby statue to notice the prayer sheet on the ground, then pick it up and have a non-Shadowheart party member recite it in front of the chest.
9 Mausoleum Portrait Puzzle
In the depths of the Thorm Mausoleum, there are three portraits hung on the walls around a gilded coffin: "Grief," "Moonrise Towers," and "General." In order to open a way forward, players need to have been following the lore. When selected in the correct order, the portraits tell a story: suffering "Grief" over the loss of his wife and daughter, Thorm swore himself to Myrkul, eventually taking over "Moonrise Towers" and becoming a "General" in the god of death's name. It's possible to learn all this by reading books scattered throughout the area, but with only three portraits to pick from, the puzzle can also be solved by brute force.
8 Inquisitor's Chamber Statue Puzzle
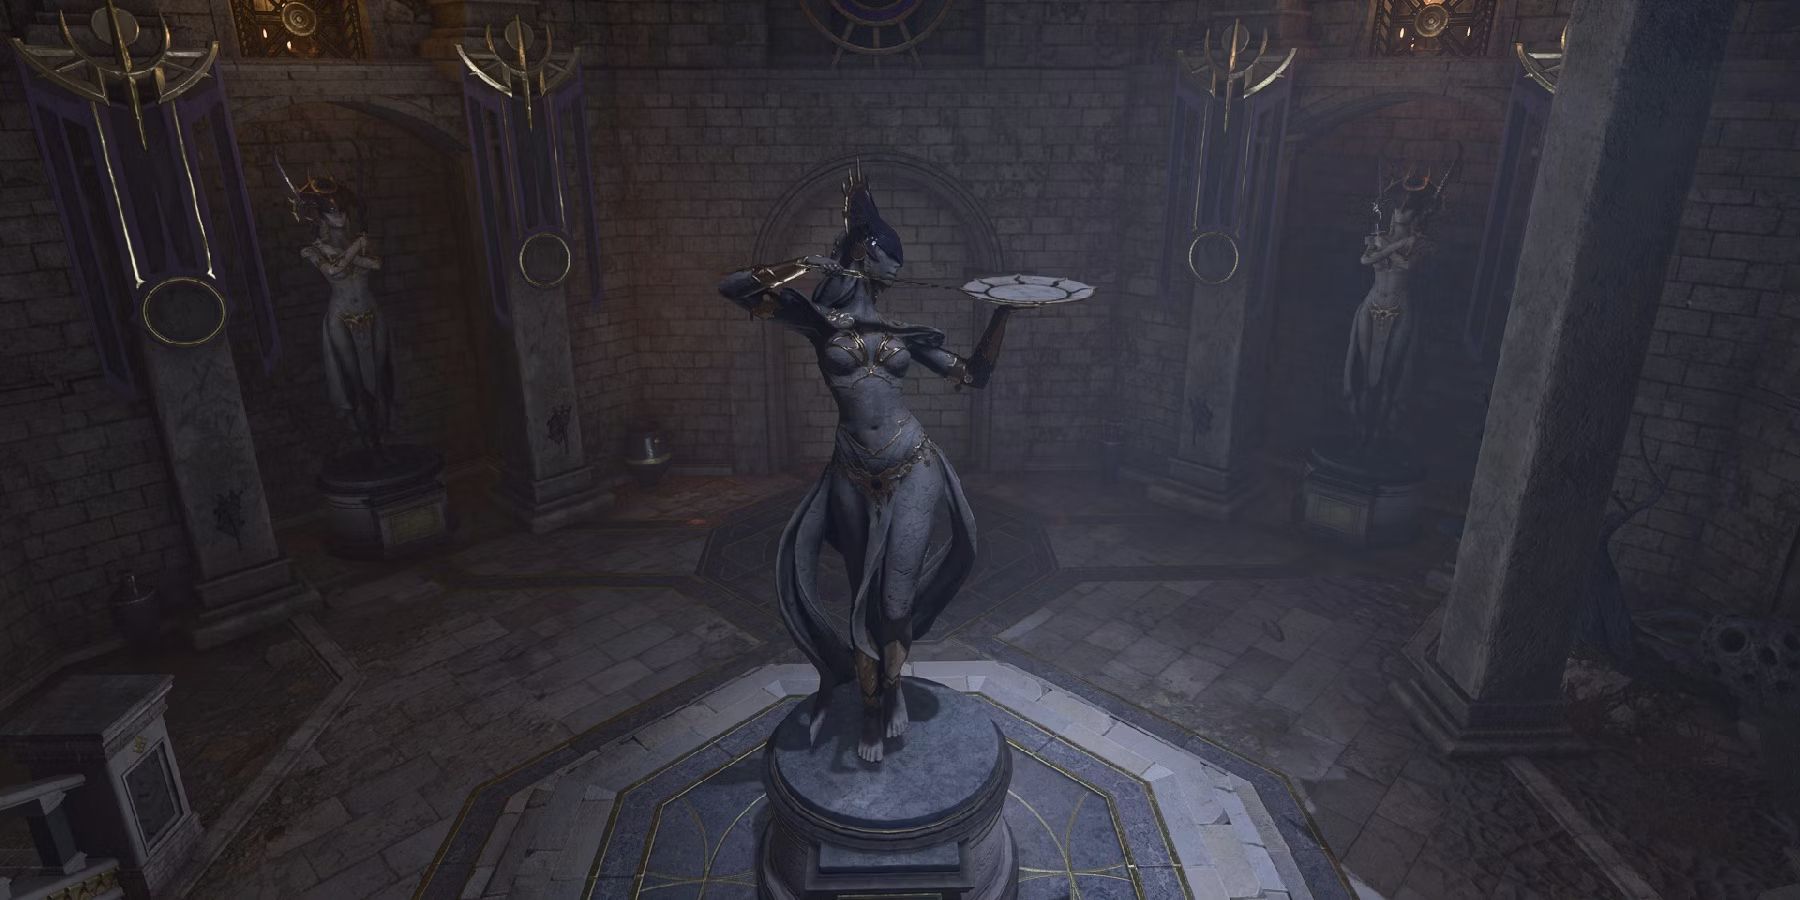
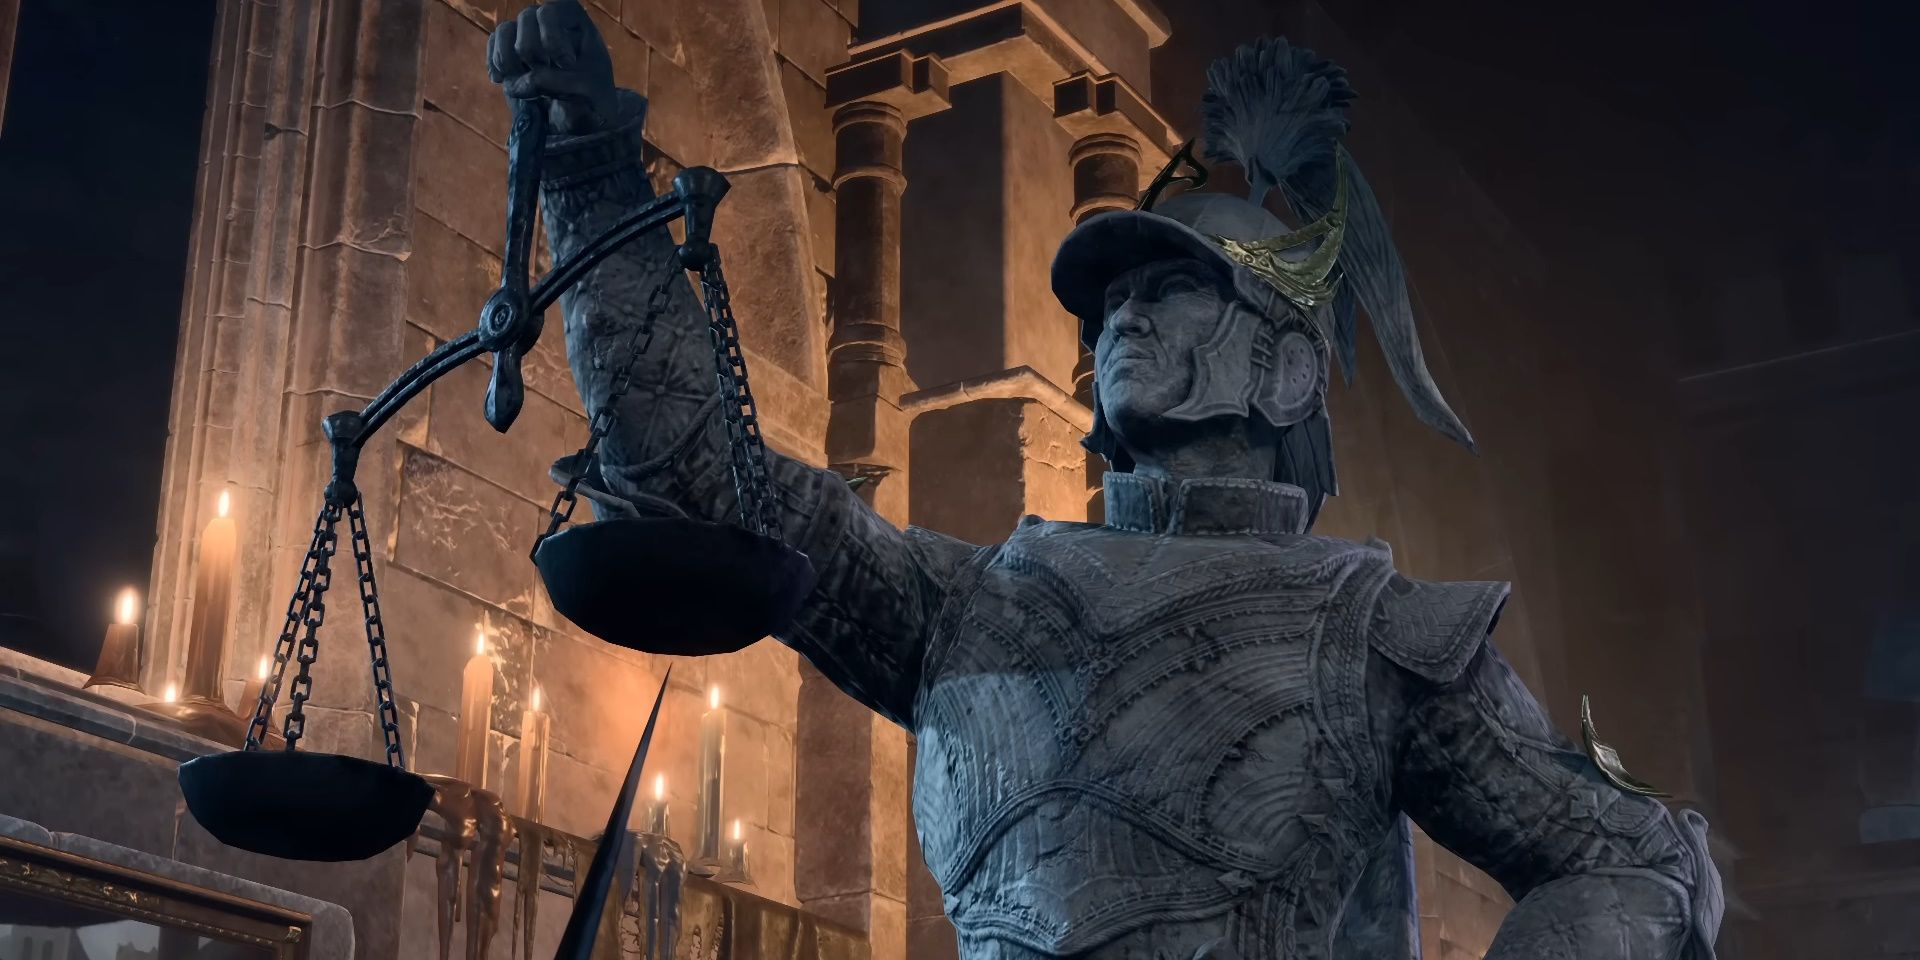
Those who decide to take the Mountain Pass into Act Two and find themselves embroiled in the githyanki crèche questline of Baldur's Gate 3, will pass through the Inquisitor's Chamber. This odd room features two rotating statues, and provides two clues: “Lathander bids the setting sun a fond farewell,” and “Lathander blesses the bountiful, rising sun.” However, there are no suns in sight apart from the ones the statues themselves are holding. Players must face one statue west toward the hypothetical setting sun, and one east toward the rising sun. This requires some knowledge of Faerûn astronomy, which luckily aligns pretty closely with Earth's.
7 Reithwin Plaque Puzzle
In order to leave an offering to Shar and receive the goddess of night's blessing, players must first solve a difficult puzzle featuring a series of plaques mounted on a mausoleum. Each plaque contains a fragment of the inscription, "Our lady of loss, mistress of pain, when night falls, Thorm shall rise," and they must be touched in a certain order to open the door. However, the plaques can be difficult to make out against the stony backdrop, and when the letters do pop up, they don't stay long enough to read through. Like the portrait puzzle, this one can also be solved by trial and error.
6 Auntie Ethel's Poison Puzzle
It's difficult to decide whether to help Auntie Ethel in Baldur's Gate 3, but those who eventually come to know her true form are likely to end up stumped in her lair. Its final obstacle, apart from Ethel herself, is a series of slopes coated in noxious gas. There are three ways to get past them, but none of them are readily apparent.
Players can pass a Perception check to spy a vent, then disarm or cover it to stop the flow of gas. It's also possible to use the spell feather fall (or a scroll) so that they can jump safely around the poison clouds. Otherwise, it's possible to backtrack to the beginning of the dungeon and grab a Whispering Mask, which prevents traps from activating. However, this can cause the wearer to go berserk and attack the rest of the party, so be ready for the worst.
5 Gauntlet Of Shar Lantern Puzzle
The first step to completing the Gauntlet of Shar is a puzzle in which players must put out a series of magic lanterns. In order to reach them, though, the lanterns must first be lowered with the correct levers, scattered all throughout the room. The puzzle isn't so hard in and of itself; the main issue is that the room is severely trapped, and it's near-impossible to get to the levers without triggering an explosion. To make matters worse, the statue of Shar in the middle of the room keeps emitting forceful blasts that throw the party back, often causing them to land right on one of the trapped tiles.
4 Defiled Temple Moon Puzzle
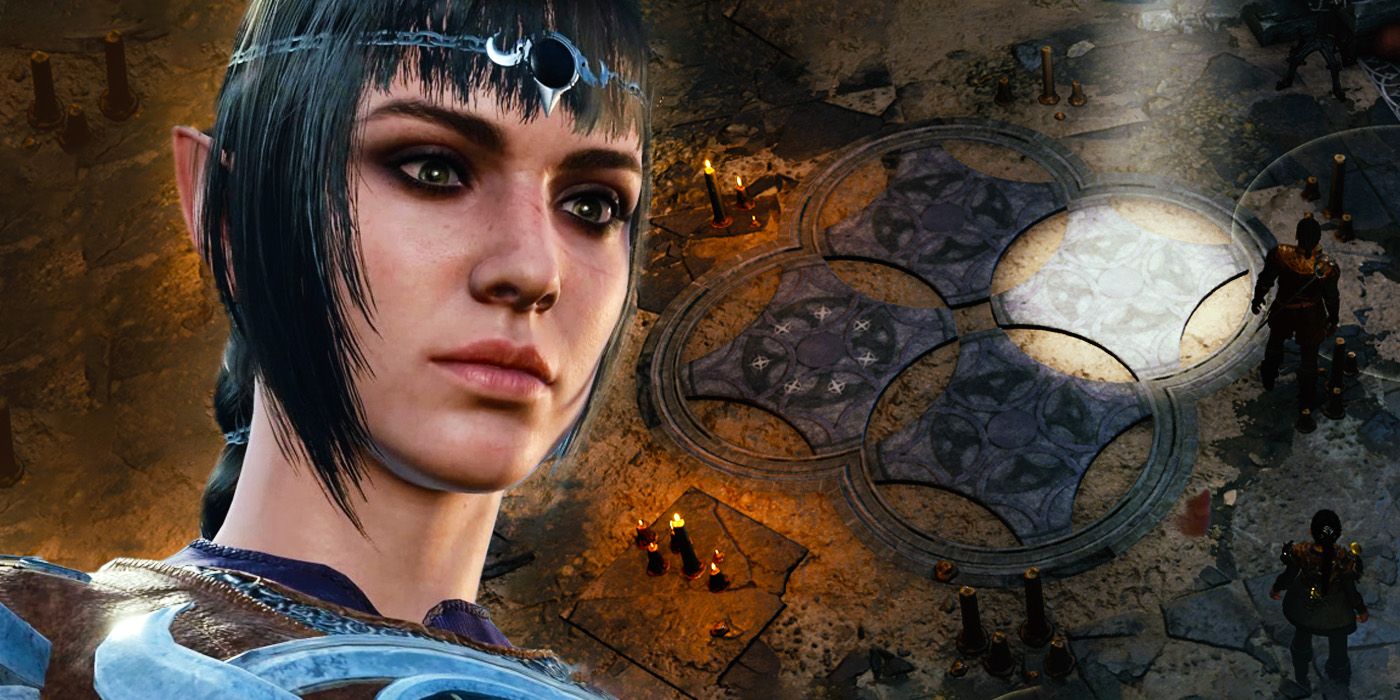
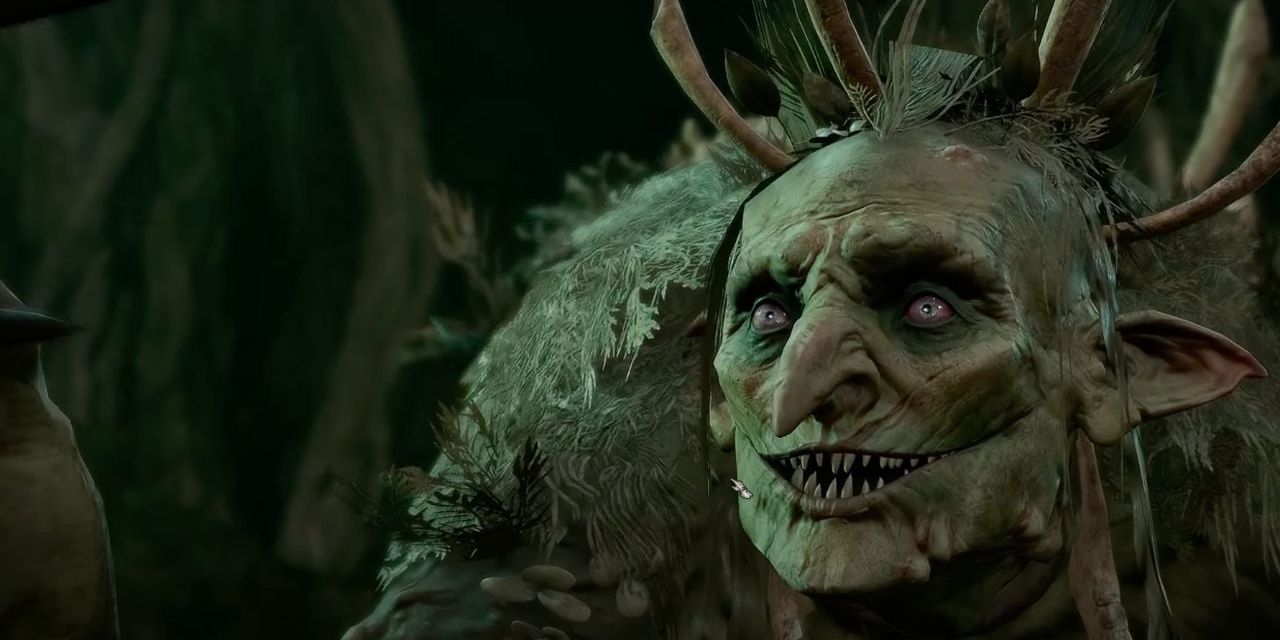
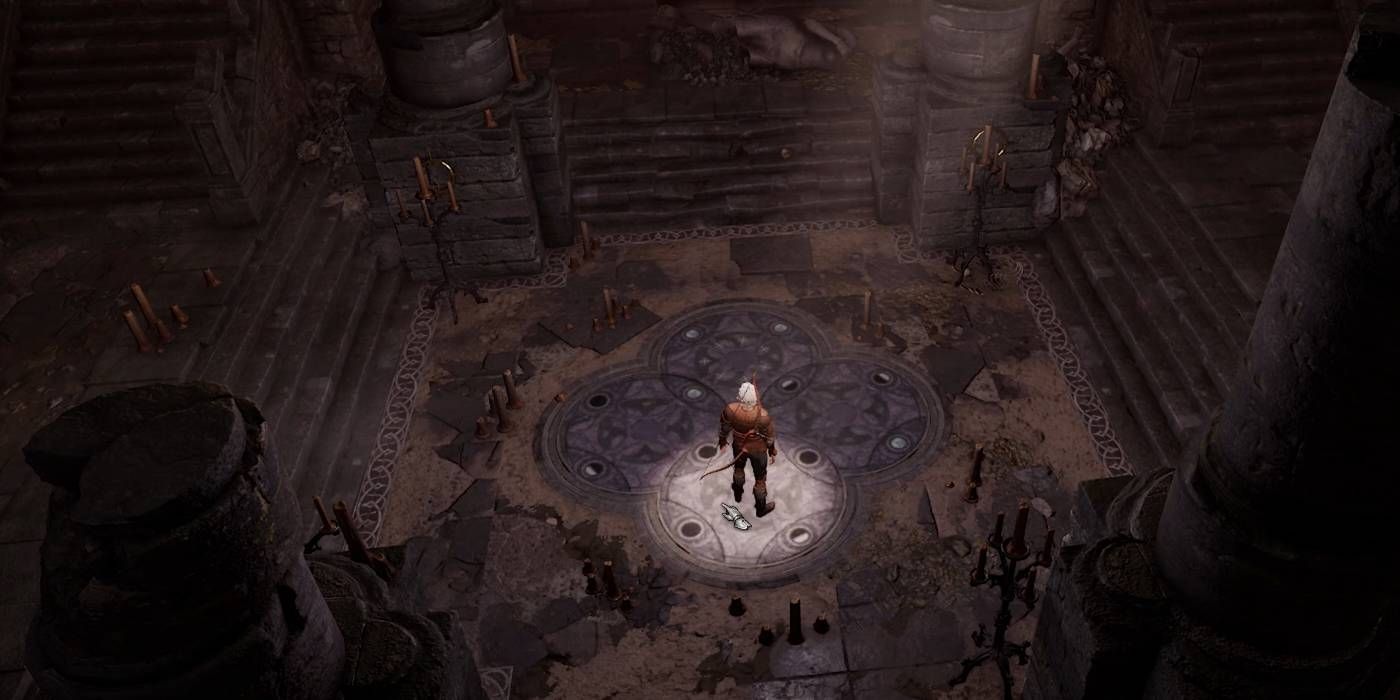
Beneath the Goblin Camp lies the first major test of wits that players encounter in Baldur's Gate 3: the Defiled Temple and its moon puzzle. It's easy enough to understand how it works: moving the floor tiles shifts around groups of black or white circles, which of course must be arranged in a particular pattern. However, the tiles are incredibly difficult to select when playing with a controller, and the solution isn't obvious just by looking through the room itself. Players will need to find the Selunite Journal in the bedroom nearby, dodging the giant, angry ogre Polma, to get a hint.
3 Arcane Tower Turrets
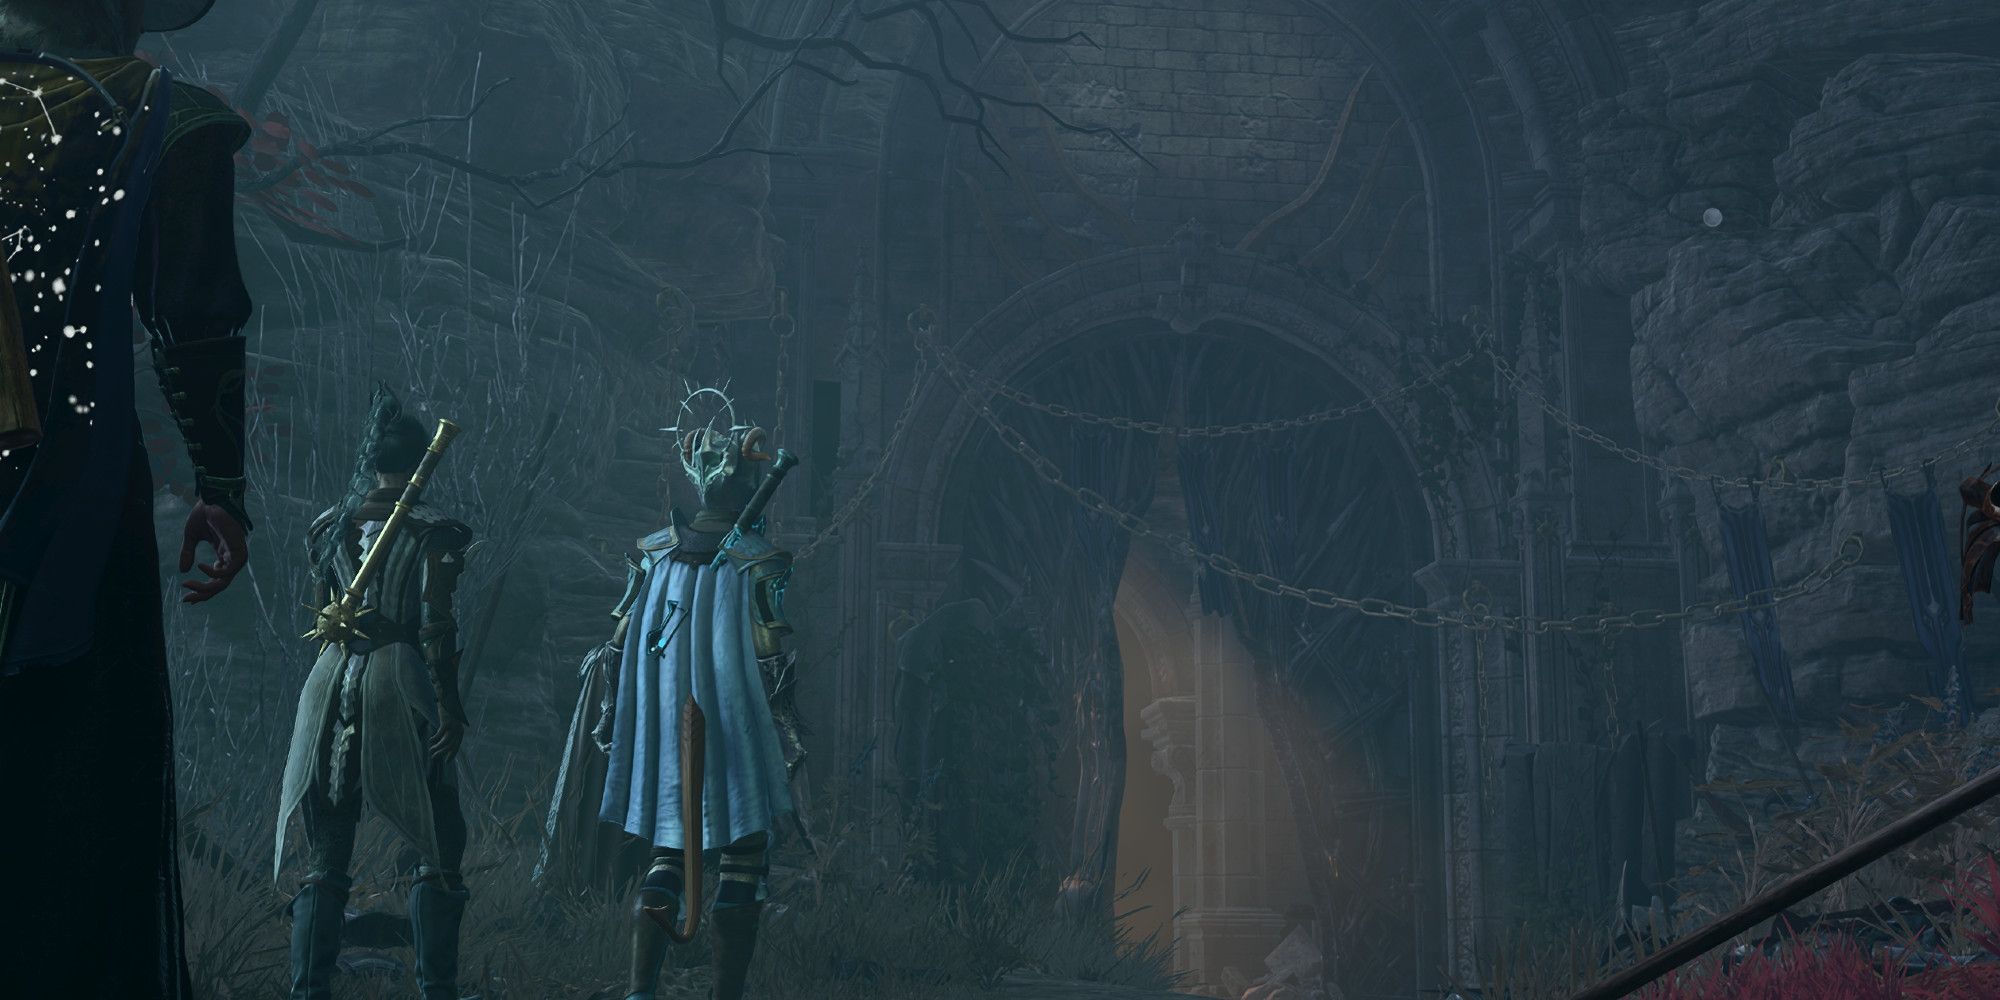
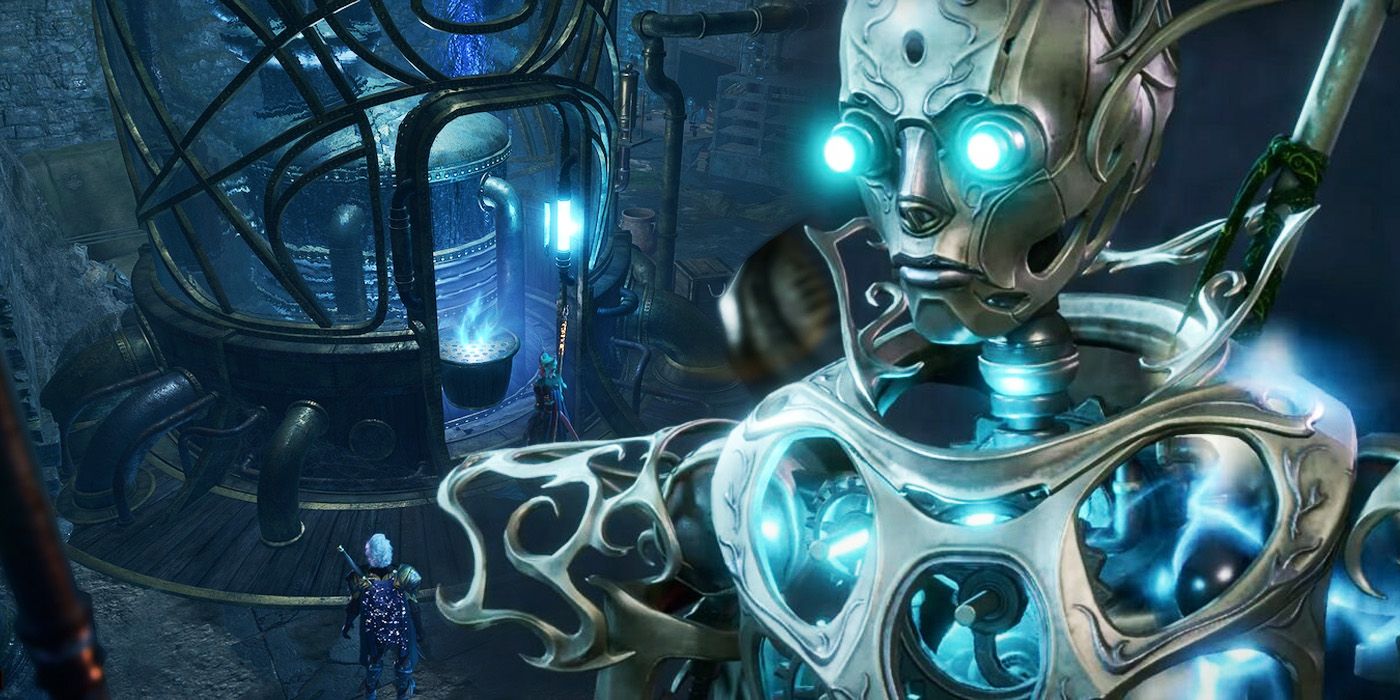
As they travel through the Underdark, the party may come upon an Arcane Tower they have no idea how to navigate. Its elevator is deactivated and can only be turned on from the far-off bottom floor. Getting down there is tough enough, requiring some treacherous jumps across giant mushrooms. And to make matters worse, it's heavily trapped. The worst part of getting through the Arcane Tower is figuring out how to avoid being shot by the magic turrets that guard it. These are quick to shoot at anyone who enters their line of sight, and near-impossible to destroy.
The trick here is to draw their fire somehow, either with an illusory spell or by placing a familiar in front of them, then throw a magic-blocking Sussur Bloom at their base. These flowers can be found lining the branches of the nearby Sussur Tree. The next step is figuring out how to power the generator, which can only be done with even more Sussur Blooms. The party may then take the lift to the top and interact with what could be the Tower's final boss: a robotic construct named Bernard.
2 Wyrmway Puzzles
The Wyrmway is among the most puzzling series of trials in Baldur's Gate 3, composed of three brainteasers of varying difficulty. The first involves passing a just sentence on an apple thief. Character morality may waver on the correct answer here, but in order to open a way forward, they need to pick "The Cell" painting. However, the paintings are cursed, and must be purified before interacting with them.
The next puzzle requires players to determine which of three advisors is most likely to lead a king astray. There are several books floating in the air; players must first get them down, either by throwing things at them or by casting hold monster, then read them to discover Suelto's violent desires. Finally, the third puzzle is a game of chess, in which the king must be mated within three moves. It's possible to win by simply moving the queen into the corner and then next to the king, but this puzzle can also be easily bypassed by hitting the king with a lightning spell.
1 Necrotic Laboratory Brain Puzzle
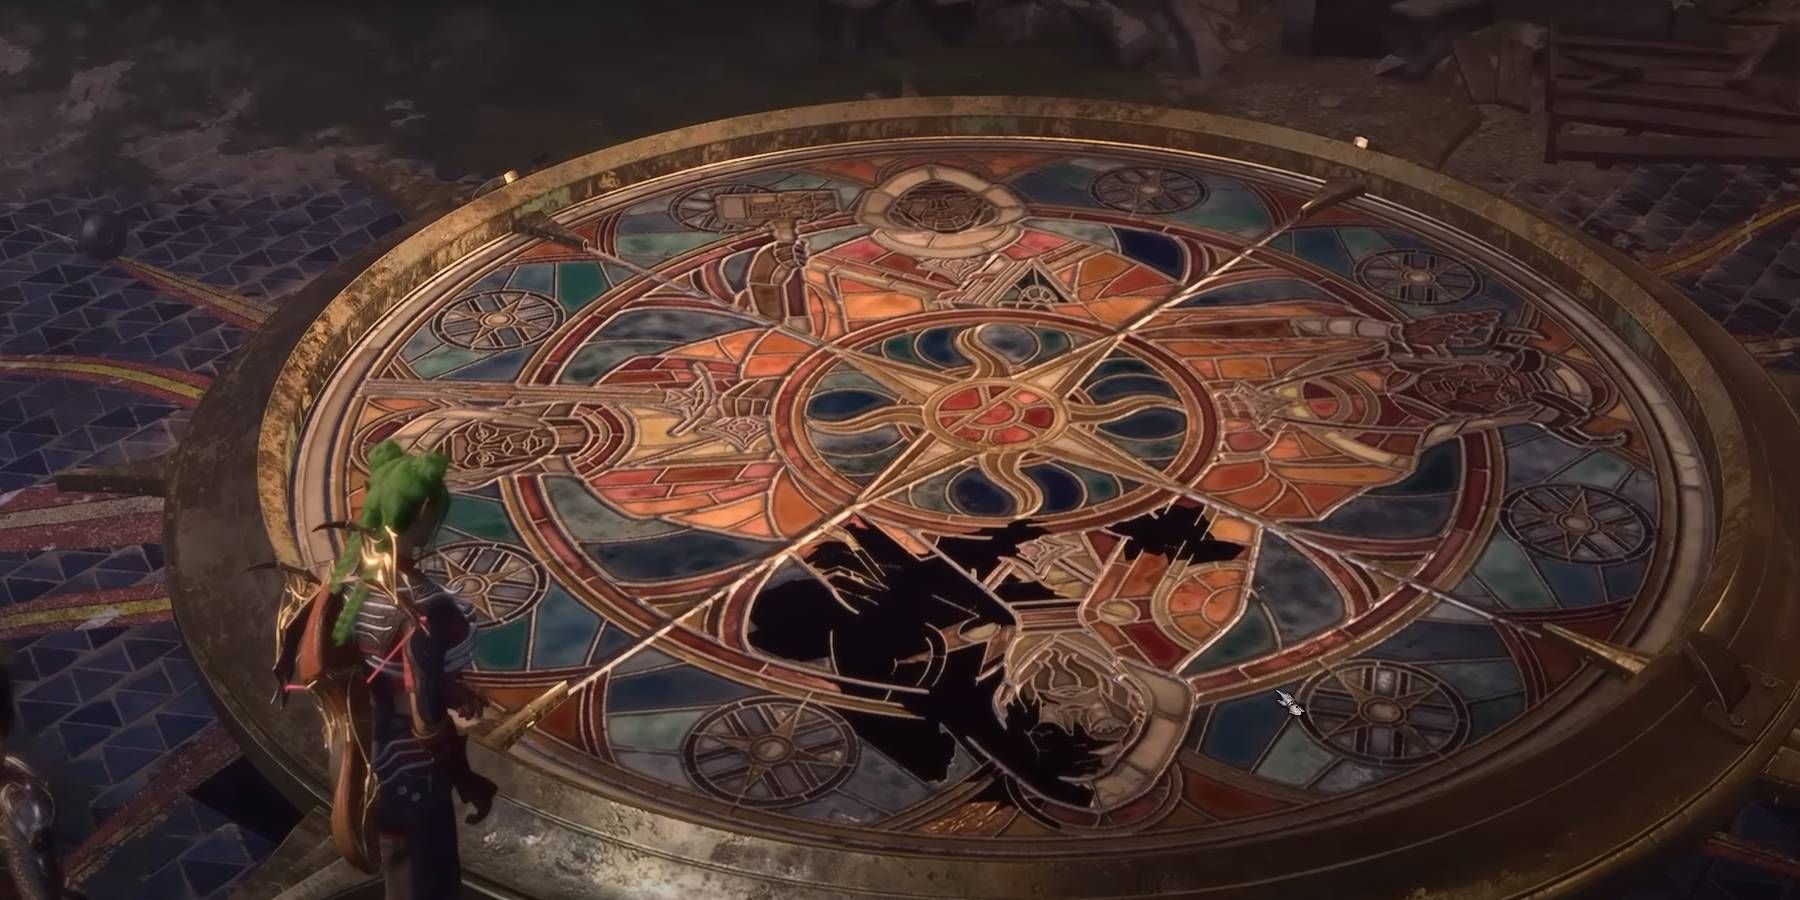
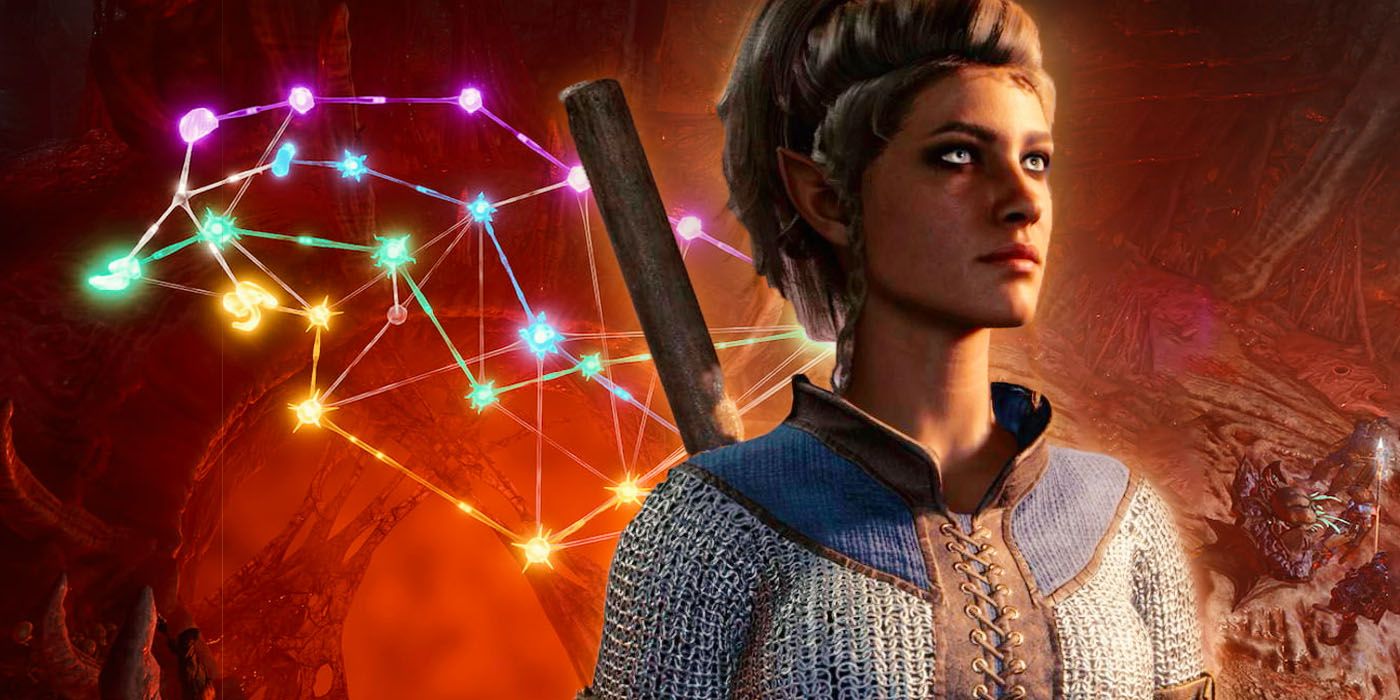
The hardest puzzle in Baldur's Gate 3 is also one of the last. Located in the Necrotic Laboratory, this puzzle involves a multicolored star map of neural nodes. The party must connect four areas of thinking - Speed, Memory, Emotion, and Reason - to four power sources, node by node. Their paths can't cross.
What makes this puzzle even harder are the finicky camera angles it must be completed at. Between the game's rigid perspectives and the glow effect on each node, it's hard to get a suitable view of how the puzzle is progressing. To make matters worse, the puzzle uses light green to represent Memory and yellow to represent Emotion, which can be hard for people with color blindness to distinguish.
But as difficult as they can be, these puzzles are worth the effort they take to solve. Whether they provide extra rewards or are strictly necessary for progressing in Baldur's Gate 3, they're among the most interesting challenges the game provides.

